
Before you start
- Board and software
- Classic ESP32-WROOM-32/32E DevKit with these GPIOs exposed and unused. Arduino IDE 2.x; esp32 by Espressif Systems 3.x (API review baseline 3.3.2, not a latest-version claim). Select the exact board or ESP32 Dev Module for a generic WROOM board. Other ESP32 families need their own pin map. Serial Monitor: 115200 baud.
- Hardware assumption
- A two-terminal, normally open dry-contact reed switch plus a magnet. Exact model/contact rating and operating distance are unspecified; verify your own part. Normally closed and changeover types need different assumptions.
- Prerequisites and parts
- First complete Arduino IDE setup and Blink. Reed switch, magnet, breadboard and short wires; a continuity meter is useful for identifying contact behavior.
- Expected result
- After a stable 30 ms sample window, Serial prints CLOSED when the contact closes and OPEN when it opens. Magnet distance is not specified.
- Verification status
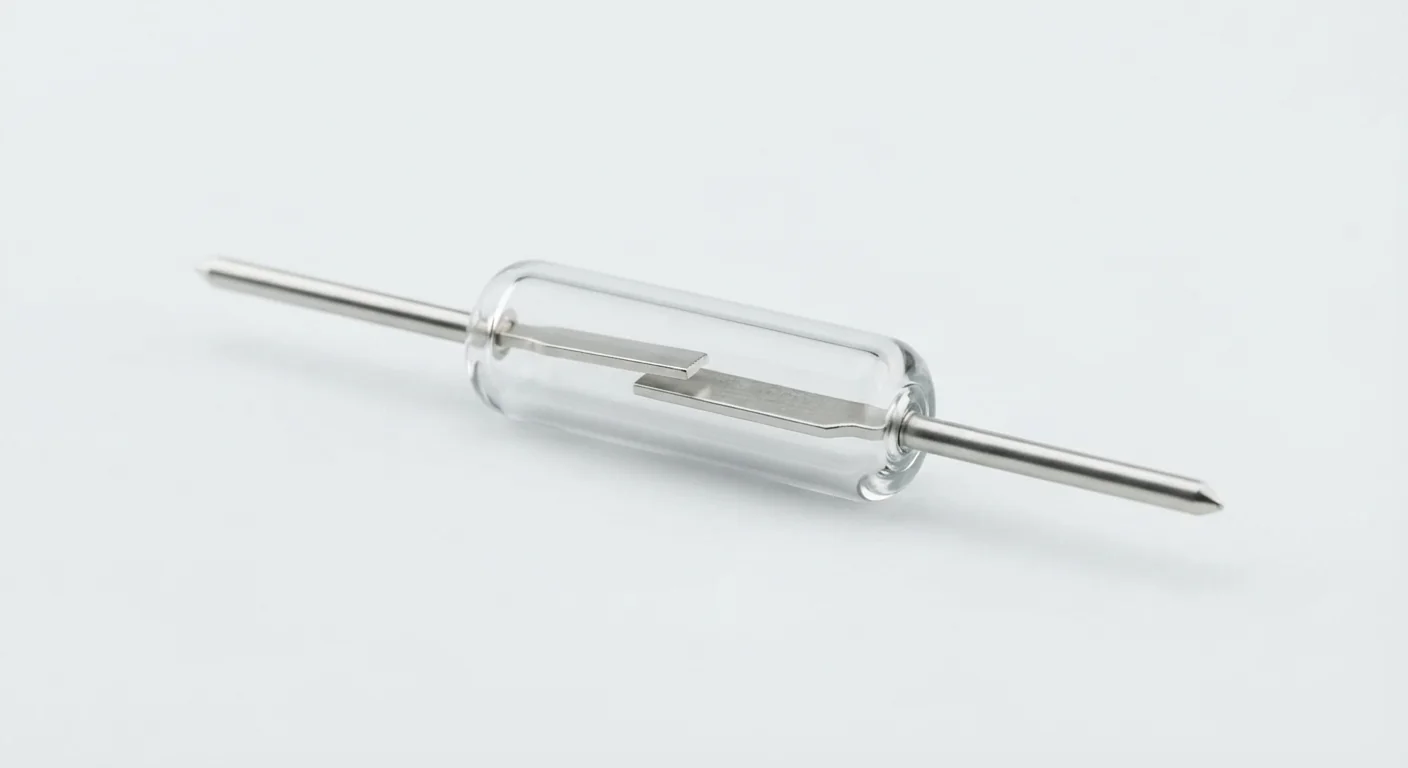
- Reviewed against the technical references below. Not compiled for an ESP32 or tested on hardware in this update. The approved product-style illustration identifies the family; follow documented terminal labels and the logical wiring diagram, not its rendered pin positions.
Overview
A magnet moves contacts inside a sealed reed switch. In the assumed normally open type, the contact closes near a suitably aligned magnet and opens when the magnet moves away.
The switch does not need a sensor supply pin. Connect it between GPIO33 and GND, with INPUT_PULLUP holding the open input HIGH. LOW means contact closed, not necessarily “door open”: mounting determines the meaning.
Technical Specifications
Arduino library: No additional library; Arduino-ESP32 GPIO and millis
| Specification | Value | Why it matters |
|---|---|---|
| Contact assumption | Two-terminal normally open | Check with a meter; other reed types exist. |
| GPIO | GPIO33 on classic ESP32 | Has an internal pull-up; same sensing GPIO as the mailbox project. |
| Open / closed state | HIGH / LOW | Magnet mounting determines door/lid meaning. |
| Debounce | 30 ms starting window | An example software setting, not a measured bounce specification. |
| Contact/load rating | Unspecified | This low-current input is not authorization to switch power loads. |
Pinout
- Terminal A Dry contact GPIO33 Either lead of an unpolarized bare contact can be A; do not infer behavior from artwork.
- Terminal B Dry contact return ESP32 GND Closing the contact grounds the input.
- Pull-up Defined open state INPUT_PULLUP on GPIO33 For long/noisy cables use a documented external pull-up and suitable input protection; do not connect a 5 V pull-up.
Wiring Diagram
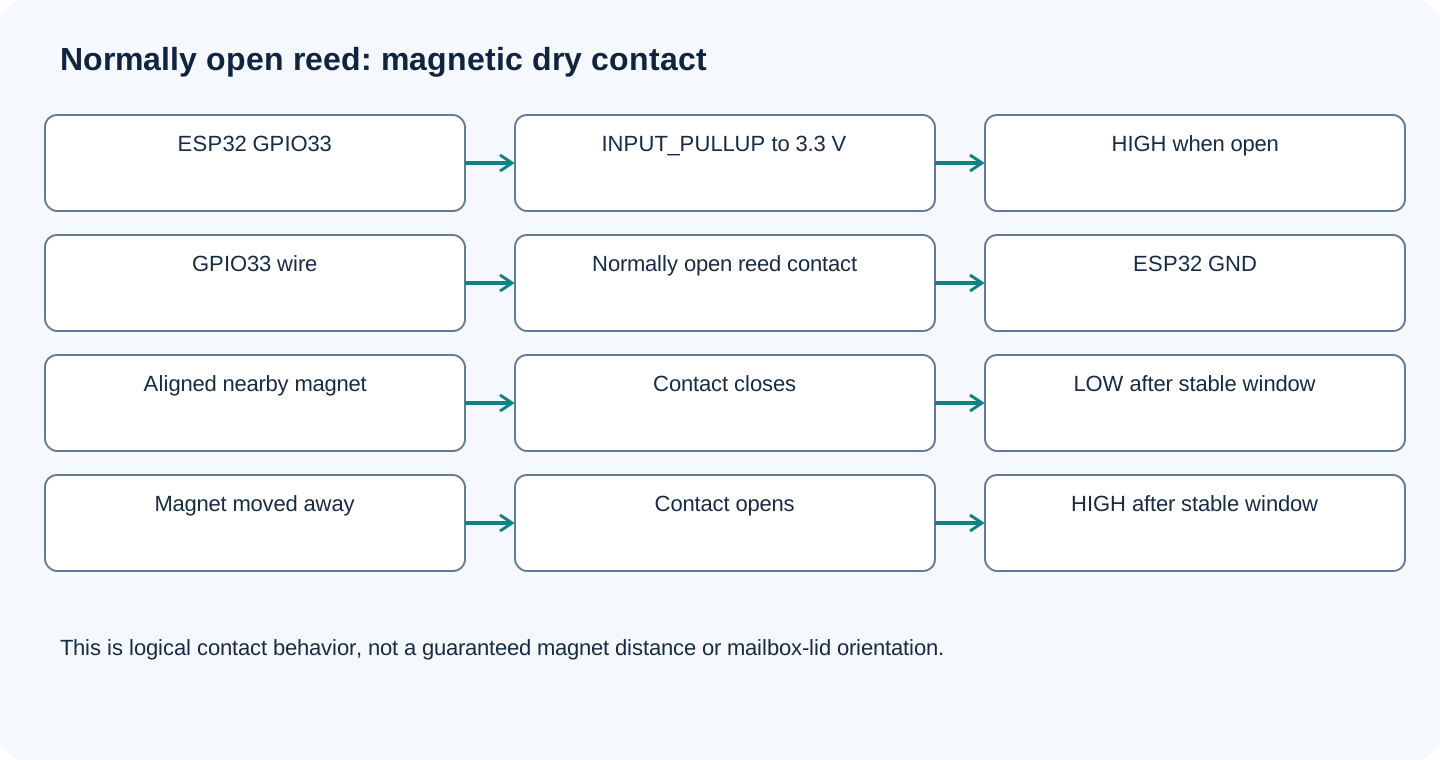
Normally open reed contact between GPIO33 and GND; INPUT_PULLUP defines HIGH when open. No 5 V connection or additional sensor power pin.
| Component terminal | ESP32 / circuit connection | Purpose and qualification |
|---|---|---|
| Terminal A | GPIO33 | Either lead of an unpolarized bare contact can be A; do not infer behavior from artwork. |
| Terminal B | ESP32 GND | Closing the contact grounds the input. |
| Pull-up | INPUT_PULLUP on GPIO33 | For long/noisy cables use a documented external pull-up and suitable input protection; do not connect a 5 V pull-up. |
Open wiring diagram at full size (new tab)
-
1
Disconnect USB; check continuity with and without the magnet to confirm a normally open contact.
-
2
Connect the two terminals as shown, without bending against the glass seal.
-
3
Upload the sketch and move/align the magnet slowly; observe contact state rather than assuming a detection distance.
-
4
Mount only after deciding which physical lid position should mean open or closed.
Wiring and matching Arduino code
Stable magnetic-contact state
Normally open reed contact between GPIO33 and GND; INPUT_PULLUP defines HIGH when open. No 5 V connection or additional sensor power pin.
reed_switch_esp32.ino
#include <Arduino.h>
constexpr uint8_t CONTACT_PIN = 33;
constexpr uint32_t DEBOUNCE_MS = 30; // Starting value; adjust for actual contacts.
int lastRaw = HIGH;
int stableState = -1;
uint32_t changedAt = 0;
void setup() {
  Serial.begin(115200);
  pinMode(CONTACT_PIN, INPUT_PULLUP);
  lastRaw = digitalRead(CONTACT_PIN);
  changedAt = millis();
}
void loop() {
  int raw = digitalRead(CONTACT_PIN);
  uint32_t now = millis();
  if (raw != lastRaw) { lastRaw = raw; changedAt = now; }
  if (now - changedAt >= DEBOUNCE_MS && raw != stableState) {
    stableState = raw;
    Serial.println(stableState == LOW ? "CLOSED" : "OPEN");
  }
  delay(1);
}
The first reported state also waits for the stable window. Unsigned millis subtraction handles rollover. This is a polling demonstration, not the mailbox deep-sleep wake algorithm.
Expected Output
Serial reports OPEN or CLOSED after a state stays unchanged for 30 ms. It prints changes rather than repeating every loop. For this normally open assumption, a correctly aligned nearby magnet closes the switch. Do not equate CLOSED with lid-closed until the mounting is checked.
How it works
Mechanical contacts may bounce. Each raw change restarts a timer; the code accepts a state only after the quiet window. The starting 30 ms value can be adjusted for the actual contact/cable and response requirements. Magnet alignment and switch type matter more than a guessed distance.
Troubleshooting
| Problem | Possible cause | Solution |
|---|---|---|
| Always OPEN | Magnet alignment, broken lead or unsuitable contact type. | Check continuity with power disconnected and try another magnet orientation; identify the actual switch. |
| Always CLOSED | Shorted wiring or normally closed contact. | Remove the magnet and isolate the switch; check its type and breadboard rows. |
| Repeated changes | Contact chatter, vibration or noisy long wires. | Check mounting, use short wires and adjust the stable window; review external pull-up/protection for long cables. |
Where you use it
- Mailbox lid sensing
- Magnetic cabinet contact
- Low-voltage position experiment
Continue learning
Related projects
FAQ
A bare dry contact does not. This example only closes a 3.3 V GPIO input to ground; electronic reed modules need their own documentation.
Do not use this unknown part as a power switch. Select contacts/driver/protection for the actual load; this page covers sensing only.
LOW means this contact is closed. Which lid position closes it depends on magnet mounting.
Technical references
- Littelfuse 59165 reed-switch datasheet — Example normally open contact type; ratings belong to that product, not the unidentified illustration.
- Espressif GPIO API — Pull-up mode and digital input reads.
Downloads
Official manufacturer PDF for teachers and advanced builders.
No separate datasheet is needed for this beginner guide.