
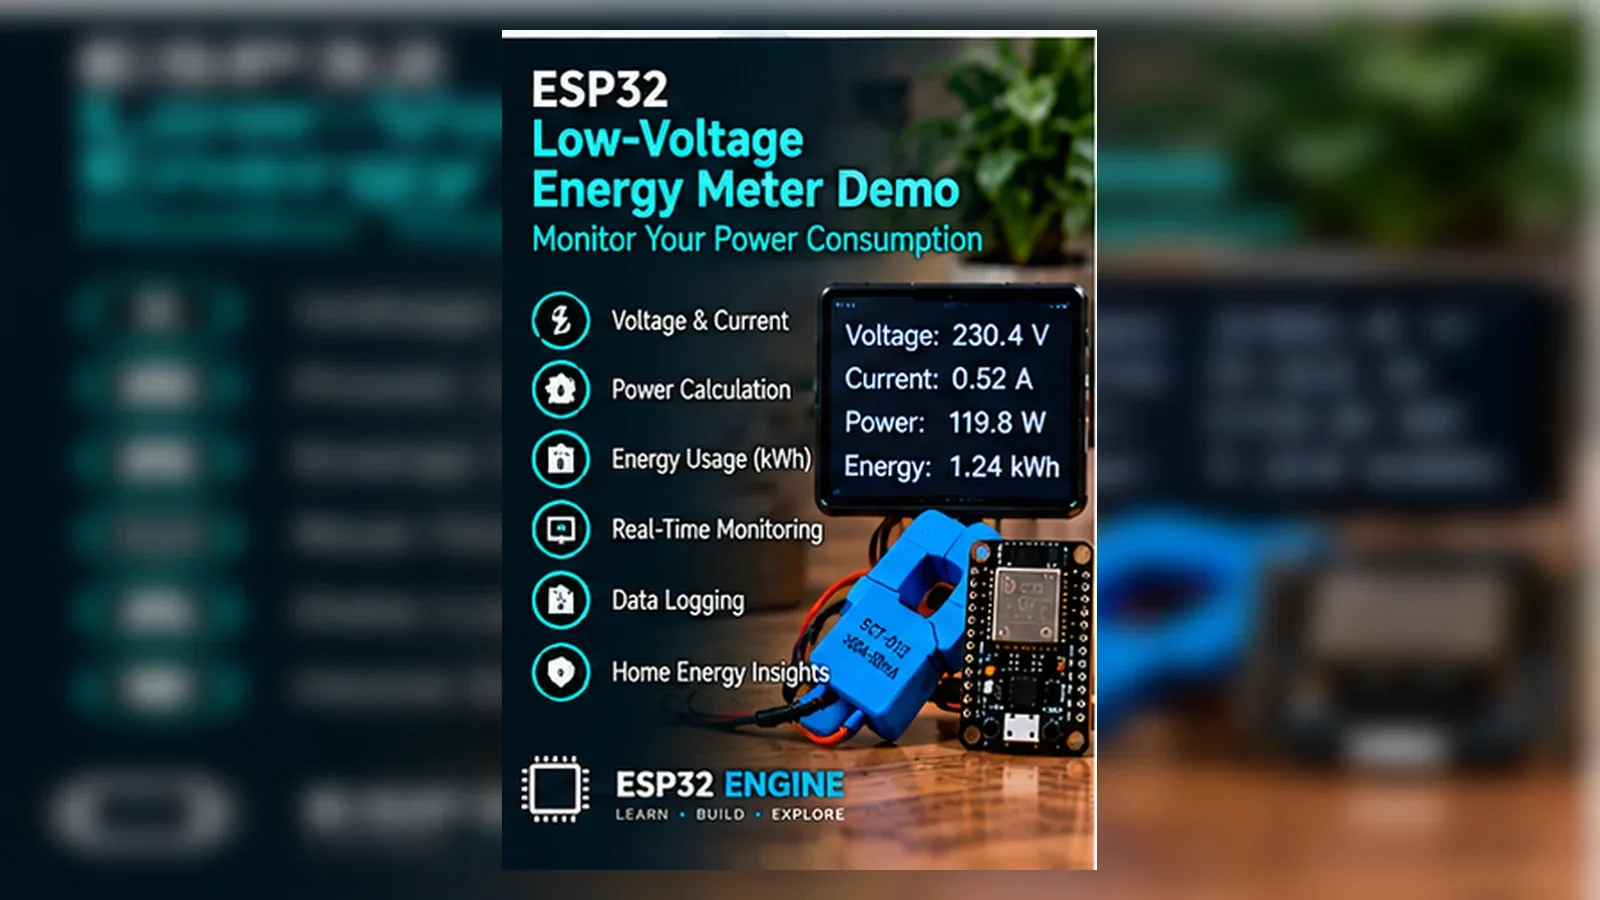
Build a Low-Voltage Energy Meter
The Story
Energy monitoring must be documented carefully because unsafe shortcuts are dangerous. This upgrade removes the staged-source mistake that treated GPIO39 as an output and keeps the build on ADC1 input pins. The component list, wiring table, GPIO map, code constants, expected output, troubleshooting, and FAQ now describe the same bench build so a learner can verify each step instead of guessing.
Explain Like I'm 12
The ESP32 reads one number for voltage and one number for current. Multiplying the scaled readings gives a simple power estimate for a safe classroom circuit. Prove the local wiring and code first, then add displays, logging, or Wi-Fi after the simple version behaves exactly as expected.
Safety Standards
- Unplug USB before changing jumper wires. Recheck 3.3 V, 5 V, and GND before reconnecting power.
- Do not power motors, pumps, LED strips, or servos from the ESP32 3.3 V pin. Use a suitable external supply and common ground.
- Breadboards are for low-current prototypes. Move high-current or unattended builds to proper terminals, enclosure, strain relief, and fusing.
What You Will Build
A bench-safe energy meter demo that reads voltage on GPIO36 and current on GPIO34, then prints a relative power estimate.
Learning Objectives
- Wire the exact GPIO pins used by the sketch.
- Run the starter code and compare output with the wiring table.
- Explain the main sensor or input signal in plain language.
- Troubleshoot one wiring mistake using Serial Monitor evidence.
Components List
- ESP32 DevKit boardReads ADC1 pins GPIO36 and GPIO34.
- Low-voltage voltage sensor moduleAnalog output to GPIO36 within ESP32-safe range.
- Low-voltage current sensor moduleAnalog output to GPIO34 within ESP32-safe range.
- SSD1306 OLED displayOptional local display on GPIO21/GPIO22.
Bill of Materials
| Part | Qty | Estimated Cost | Notes |
|---|---|---|---|
| ESP32 DevKit board | 1 | Varies | Reads ADC1 pins GPIO36 and GPIO34. |
| Low-voltage voltage sensor module | 1 | Varies | Analog output to GPIO36 within ESP32-safe range. |
| Low-voltage current sensor module | 1 | Varies | Analog output to GPIO34 within ESP32-safe range. |
| SSD1306 OLED display | 1 | Varies | Optional local display on GPIO21/GPIO22. |
Wiring
A bench-safe energy meter demo that reads voltage on GPIO36 and current on GPIO34, then prints a relative power estimate.
-
1
Unplug USB and the low-voltage test source before rewiring.
-
2
Connect the voltage sensor analog output to GPIO36.
-
3
Connect the current sensor analog output to GPIO34.
-
4
Connect sensor grounds to ESP32 GND and keep outputs within ESP32-safe input range.
-
5
Optional: connect OLED SDA to GPIO21 and SCL to GPIO22.
-
6
Reconnect power and verify raw ADC readings before calculating or displaying power.
GPIO Mapping
| Signal | ESP32 Pin | Direction | Notes |
|---|---|---|---|
| Voltage sensor signal | GPIO36 | Input | ADC1 input-only analog pin. |
| Current sensor signal | GPIO34 | Input | ADC1 input-only analog pin. |
| OLED SDA | GPIO21 | I/O | Optional I2C data. |
| OLED SCL | GPIO22 | Output | Optional I2C clock. |
Circuit Explanation
GPIO36 and GPIO34 sample analog sensor outputs. The optional OLED is an I2C display, not a relay cutoff.
Engineering Explanation
The sketch reports raw ADC values and relative power until exact sensor modules are calibrated. It avoids invented voltage scaling, current limits, and ADC2 Wi-Fi conflicts.
Libraries
- Arduino ESP32 coreInstall ESP32 board support in Arduino IDE.
Code
Copy into Arduino IDE. Install any libraries noted in the component guides first.
// ESP32 Smart Energy Meter - low-voltage ADC demo
// Reads voltage sensor on GPIO36 and current sensor on GPIO34.
// This sketch is for isolated low-voltage learning circuits, not direct mains measurement.

const int VOLTAGE_PIN = 36;  // ADC1 input
const int CURRENT_PIN = 34;  // ADC1 input
const int SAMPLE_DELAY_MS = 500;

void setup() {
  Serial.begin(115200);
  pinMode(VOLTAGE_PIN, INPUT);
  pinMode(CURRENT_PIN, INPUT);
  Serial.println("ESP32 Smart Energy Meter low-voltage demo");
}

void loop() {
  int voltageRaw = analogRead(VOLTAGE_PIN);
  int currentRaw = analogRead(CURRENT_PIN);
  float relativePower = (voltageRaw / 4095.0) * (currentRaw / 4095.0);

  Serial.print("voltageRaw=");
  Serial.print(voltageRaw);
  Serial.print(" currentRaw=");
  Serial.print(currentRaw);
  Serial.print(" relativePower=");
  Serial.println(relativePower, 4);
  delay(SAMPLE_DELAY_MS);
}
Code Explanation
The sketch reads voltageRaw from GPIO36 and currentRaw from GPIO34, then multiplies scaled ratios for relativePower. No GPIO is used as a relay cutoff output.
Expected Output
Serial Monitor prints voltageRaw, currentRaw, and relativePower every 500 ms. The values are for calibration practice, not billing or direct mains measurement.
Troubleshooting
- Readings stay at 0 Check sensor power, ground, and analog outputs on GPIO36/GPIO34.
- Readings stay near 4095 Disconnect and confirm the sensor output is within ESP32-safe range.
- OLED does not show data First confirm Serial Monitor readings, then check SDA on GPIO21 and SCL on GPIO22.
Common Mistakes
- Connecting AC mains directly to an ESP32 or breadboard.
- Using GPIO39 or another input-only pin as an output.
- Assuming raw ADC counts are calibrated volts or amps.
Testing Checklist
- Upload the sketch with only the documented circuit attached.
- Open Serial Monitor and confirm the expected messages.
- Move or trigger the input and watch the output change.
- Power-cycle the project and confirm it starts safely.
Engineering Tips
- Change one variable at a time.
- Keep wires short and labeled while testing.
- Record any calibrated threshold before installing the project.
Upgrade Ideas
- Add calibrated scaling constants after measuring known references.
- Display voltage, current, and relative power on the OLED.
- Publish readings to MQTT only after local calibration is repeatable.
Real-World Applications
- Classroom lab build
- Bench prototype
- Local ESP32 learning project
FAQs
Can this measure house mains directly?
No. Do not connect mains to the ESP32 or a breadboard.
Why use GPIO36 and GPIO34?
They are ADC1 input-only pins, appropriate for analog readings and Wi-Fi compatibility.
Why print relative power?
Exact voltage and current scaling depends on the sensor modules, so the starter code avoids inventing calibration values.
Review, Testing, and References
Author: Abdul Mubeen and the ESP32 Engine editorial team. Last updated: 2026-08-26. Reviewed: wiring logic, Arduino code structure, beginner safety, and learning sequence.
Educational level: Intermediate. Estimated completion time: 90-120 min. This project is for learning and prototyping; production or unattended hardware needs additional engineering review.
Project Complete!
You completed ESP32 Smart Energy Meter as a real ESP32 engineering build with matching wiring, code, testing, and troubleshooting.
- Read the GPIO map
- Verify code against hardware
- Troubleshoot with Serial Monitor