
Before you start
- Board and software
- Compatible pH electrode and meter with its actual calibration procedure. No ESP32, GPIO or firmware is needed. Arduino-ESP32 3.3.2 remains the site review baseline for separate electronic examples.
- Supported hardware
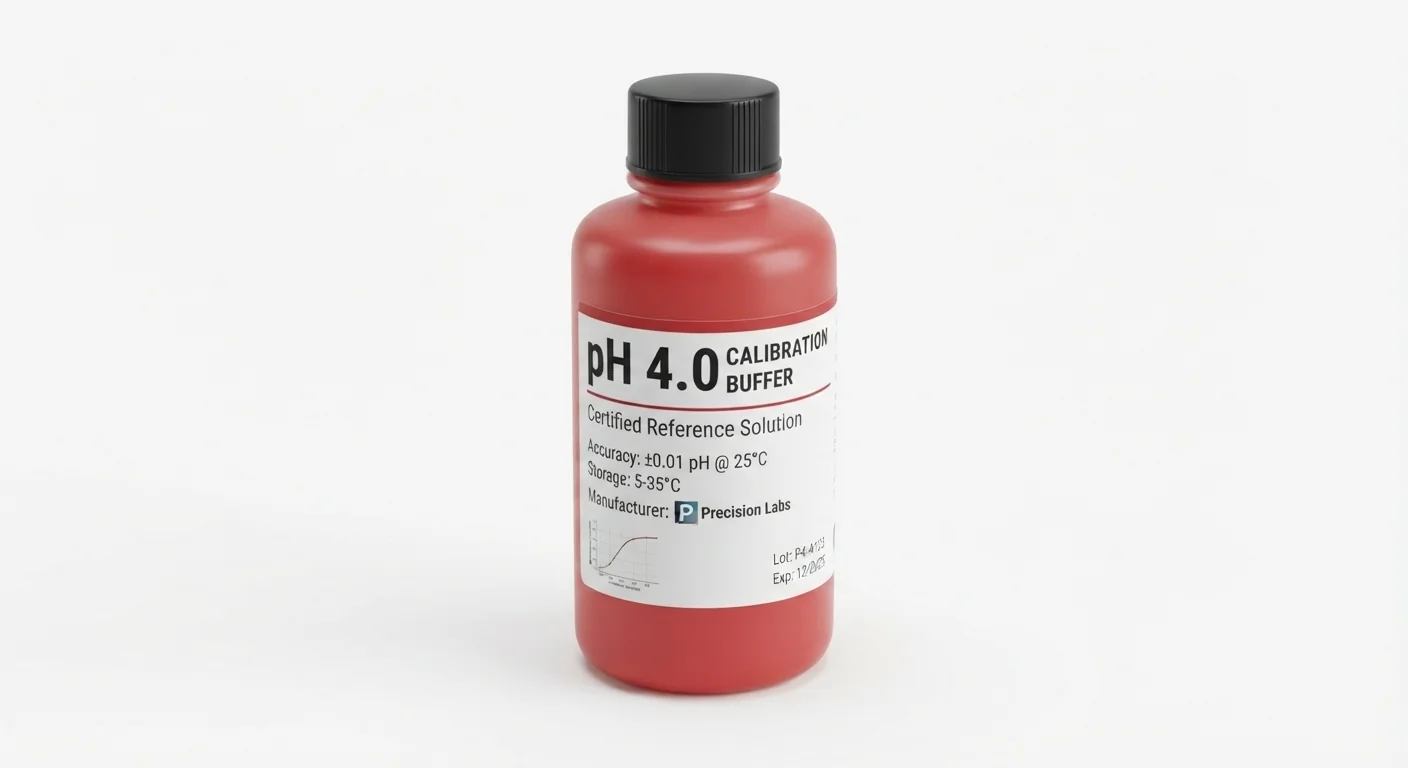
- Approved bottle illustration labelled pH 4.0. Actual certified value, temperature table, expiry and lot are unverified. Hanna HI7004 is a separate documented 4.01 reference, not identification of this bottle.
- Prerequisites and parts
- Compatible pH probe/meter with documented calibration procedure, fresh in-date labelled buffer, clean separate beakers, rinse water and the meter temperature method. No ESP32 wiring or generic analog-interface trimmer procedure is supplied.
- Libraries
- No firmware or library required for this exercise. Arduino-ESP32 3.3.2 is the site review baseline, not a dependency of this passive setup.
- Expected result
- The compatible pH meter accepts the selected reference using its actual procedure; no accuracy or calibration result is claimed.
- Verification status
- Documentation review only; no physical calibration or measurements performed. This is a product-style bottle illustration, not evidence of a certified lot or manufacturer identity. Use the actual bottle label and meter manual.
Overview
pH 4 buffer provides an acidic reference for a compatible pH meter. Paired with a near-neutral point, it helps the instrument assess electrode slope on the acidic side. It is a consumable solution, not a probe or an analog-output module.
Choose points that bracket the intended samples and are supported by the meter. pH 4 and 7 are not the right pair for every range: alkaline samples may require a different second point. The approved illustration says 4.0; the separately documented Hanna reference is 4.01. Enter the actual reference value at its specified temperature, not the rounded artwork label.
Technical Specifications
Arduino library: No firmware or library required for this exercise
| Specification | Value | Why it matters |
|---|---|---|
| Illustration label | pH 4.0 | Exact certified value/temperature and lot unknown. |
| Documented reference | Hanna pH 4.01 buffer | Use actual product temperature table; not an artwork specification. |
| Calibration role | acidic slope point | Follow instrument-supported points and sequence. |
Pinout
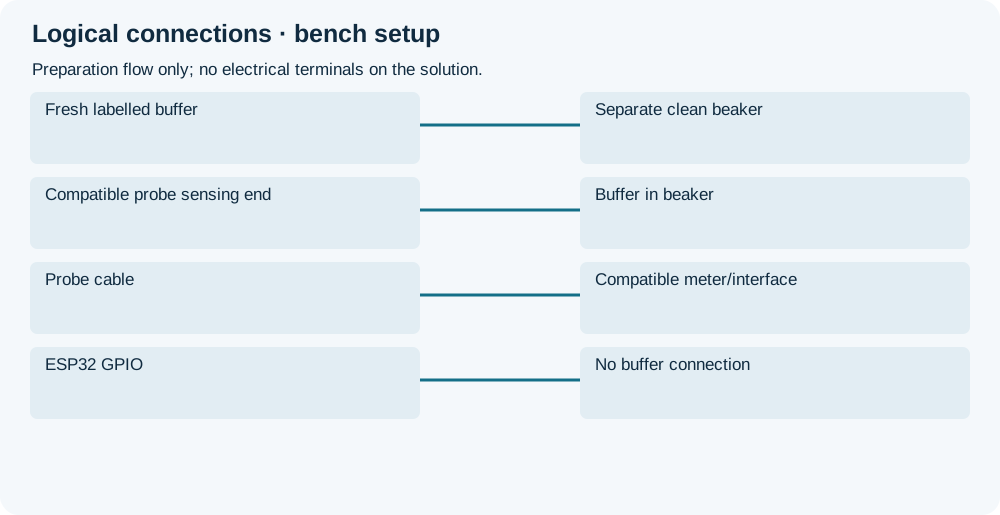
- Fresh labelled buffer Connection Separate clean beaker Check expiry/value/temperature.
- Compatible probe sensing end Connection Buffer in beaker Immersion per probe manual.
- Probe cable Connection Compatible meter/interface Keep connectors dry.
- ESP32 GPIO Connection No buffer connection Interface voltage needs separate review.
Wiring Diagram
Fresh pH 4 aliquot → clean beaker → compatible probe/meter; no liquid-to-GPIO connection.
| Item | Preparation / connection | Purpose and qualification |
|---|---|---|
| Fresh labelled buffer | Separate clean beaker | Check expiry/value/temperature. |
| Compatible probe sensing end | Buffer in beaker | Immersion per probe manual. |
| Probe cable | Compatible meter/interface | Keep connectors dry. |
| ESP32 GPIO | No buffer connection | Interface voltage needs separate review. |
Open wiring diagram at full size (new tab)
-
1
Follow the actual instrument procedure and select the correct buffer set and temperature reference.
-
2
Use a fresh separate aliquot and rinse/immerse the electrode according to its manual.
-
3
Accept the acidic point after the required first point; save calibration and discard the used aliquot.
Expected Output
After a valid neutral point, the meter should accept the documented acidic reference. Its slope diagnostic, if provided, is instrument-specific. Acceptance is not independent proof of accuracy on unknown samples.
How it works
After the meter accepts its near-neutral point, rinse the electrode as its manual directs and move it to a separate fresh acidic aliquot. Immerse the bulb and junction to the required depth, allow stabilization and accept the supported second point. Save the calibration according to the instrument instructions; do not derive a universal ESP32 conversion coefficient from two displayed numbers.
Use a clean beaker for each solution and never return a used aliquot to stock. Keep the stock bottle closed and follow its actual storage conditions, lot and expiry instructions. Buffer is not automatically electrode storage solution. See the pH 7 page for the first-point and stabilization checks.
Troubleshooting
| Problem | Possible cause | Solution |
|---|---|---|
| Neutral point accepted, acidic point rejected | Wrong second-point selection, contaminated reference or electrode response issue. | Use a fresh labelled acidic aliquot at the documented temperature; consult the meter slope diagnostic rather than adding a software offset. |
| Trying to calibrate alkaline samples with only pH 4 and 7 | Calibration points do not bracket the intended range. | Select the supported reference pair for the sample range; Hanna gives 7.01 and 10.01 as an example for samples around pH 8. |
| Acidic reading drifts | Carryover, insufficient immersion or electrode condition. | Rinse between separate beakers, cover the bulb/junction as specified and follow electrode maintenance instructions. |
Where you use it
- A documented pH 4 calibration point
- Checking reference stability before designing a probe interface
FAQ
No. The meter procedure and intended range decide the sequence and reference values.
No. Use the actual certificate/label and temperature table; a 4.01 product is a separately specified reference.
Technical references
- Hanna calibration procedure — Compatible instrument procedure and stabilization; not a generic ESP32 interface calibration.
- Hanna pH 4.01 reference — Specific reference value and temperature dependence; artwork product unverified.